31 July 2011

Oooohhh... That's A Pretty Scarf!! - Tunisian Crochet - July 2011

Okay... you got me!  I couldn't wait!  I'm so excited about this project, though!!!!!  Since it's a new crochet technique I simply couldn't wait to finish it and post!  


As a reminder, Tunisian crochet works in tiers and picks up stitches at the vertical bar rather than the top of the stitch (above).  I really enjoyed working this particular project because of the tiers.


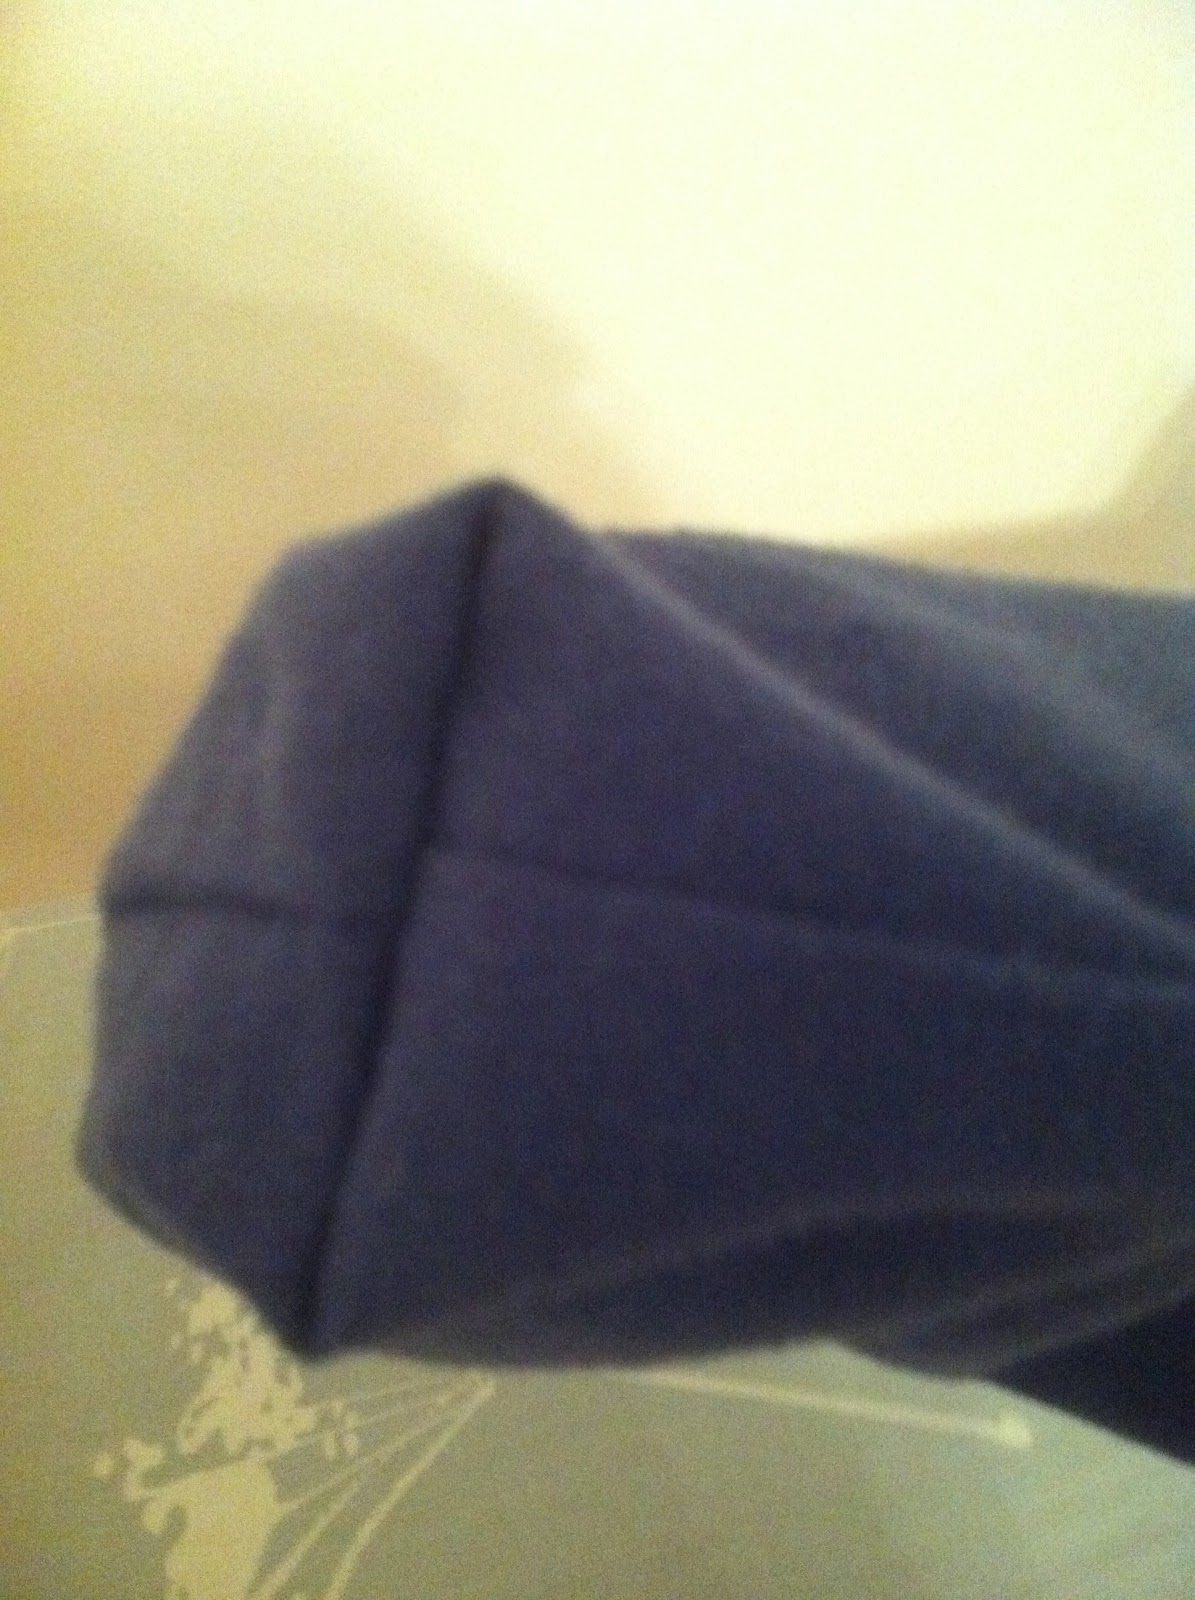
These two are pictures of the project where (above) I was working the end of the tiers and preparing for the finishing border and (below) I finished the scarf with finishing border.  (Yes, it is called "finishing border" in the book!  I was totally not being redundant!)  I figured these two pictures would give you a good feel for what the project looks like.  I was kind of sad when I realized that I switched the directions of the tiers at one point, but oh well, it's finished!!  And no one would have known if I hadn't said anything.  The thing is there are two sides to Tunisian crochet... one side is considered the "front" and has the vertical bars while the other side, the "back," looks all bunched up and stuff.  In the picture above, the green squares are showing their "front" side and the pink squares are showing their "back" side.  I did this on purpose because I think both sides look nice.  I also like the effect of the front and back sides together.  Besides, it's a scarf... there is no true "front" and "back" to a scarf!  Is there... ?  I didn't think so!


At the end of my little scarf project I had a few leftovers.... I'm wondering what to do with them... I'll figure something out, right?  Yay!  Thanks for the confidence!

So... I would post the pattern.  Instead I will give you the book name and page number and stuff.

Author: Sheryl Thies
Title: Get Hooked on Tunisian Crochet: Learn How With 13 Projects
Copywrite: 2011 - by Sheryl Thies
Publishers:  Martingale & Company (registered)
                   19021 120th Ave. NE, Suite 102
                   Bothell, WA 98011-9511 USA
                   www.martingale-pub.com
Printed: in China
Page: 46-49 (with references to other pages of the book)
Skill level: Intermediate

Since I did not use the same type of yarn and size of hooks it turned out to be a slightly different project that what the book gives, but I expected and wanted this for my project.  The book pattern is given for a shawl, but I created a scarf.  For more information on gaging, sizing, and creating specific projects to size, comment or e-mail me!

Blessings!

P.S.  Stay tuned for more yarn projects!  I have a crochet blanket (I don't know if I should call it a baby blanket or an afghan at this point), a poncho, and a couple of crochet bags coming up!!  Plus who knows what I'll be inspired to sew!!

What's That? - Produce Bags 101 - July 2011

Soooooo...  I don't like using paper or plastic bags for anything.  It irks me.  I don't know about you but I like reusable, washable stuff.  With that in mind, here's a great idea I've never heard from anyone else before... you know those little brown paper bags, the ones some people put fresh produce or glass bottles in?  How about the plastic ones (those seem more common)?  Yeah, THOSE!!!!  Here's the green alternative!  Take some of those old cloth samples and make mini-bags!  (If you scroll down there's actually a picture of what I'm talking about!)  It doesn't take much material... in fact, it takes less material to make a min-bag than it does a dinner napkin!  Yup, that's right, less than 23 inches.

First, cut the cloth so it makes about the right size.  Iron it out, trim it up and then sew around the edges.  I like the "fold-it-in-half-so-there-are-only-two-sides-to-sew" method myself.  The picture below shows a French seam... however that is not the only possible seam you can make.  I tried about 4 (which is the number of mini-bags I made) different ways to sew.  Personally, I think the French seam is probably the best for durability.  Also, in the picture below, if you look closely there is a tight part... where I sewed across the corner of the bag to make a bottom.  Thanks to the inspiration and example from Mrs. Stupfer, this was a no-brainer to add....


As you can see (below) sewing across the corner of the bag on both sides like that (above) actually makes the bag stable and able to stand on its own!  Yeah... that bag is NOT laying down!  Whadda ya think about that?  (I think it's kinda nifty, but that's just me....)


Above you can see a picture of the seam from the outside.  It didn't line up completely perfect, but ya know, it still looks good!  I can't wait to take these new bags to the market!!  Below is a comparison picture between my newly sewn blue produce bag and a little brown paper produce bag.  I could have made my little bag taller, but I think it's the perfect size... besides, I rarely ever fill the paper bags more than half way anyway!  Do you?


And finally, all four of my bags all ready for the market!  Hope this was an inspirational post for you!!

P.S.  Keep a look out for the next post... it's about the Tunisian (afghan) crochet!

Blessings!

26 July 2011

Sewing Again! Napkins! - June 2011


Above you can see the first napkin I made.  It is a smaller napkin, about 18 inches, so I guess you might call it a lunch napkin.  My larger dinner napkins barely made 22 inches each.  I came out with 4 lunch napkins and 7 dinner napkins.  The material... an old sheet.  Yeah, that's right, I reused our old sheets.  Don't worry, though, because they were all cleaned very well before I ever cut them down.

First, I cut off the edges so I can use the middle.  Second, I measured each side and figured out how many napkins I could make from it.  Third, I cut the individual napkin pieces, being sure to allow plenty of room for play and error.  Fourth, I folded the napkins into triangles to make perfect squares and trimmed the edges so they were more even.  Fifth, I ironed (with water) the edges down so they would stay where I wanted to while I was sewing.  Sixth, I sewed around the edges to make a border.


Folding and ironing the edges down made sewing the edges much easier.  Above is the first fold and below is the second fold.


I made several napkins, so I ended up taking pictures of the steps out of order... one day I will take pictures in an order that makes sense!  Above is the triangle folding of a dinner napkin.  The edge I trimmed down is closes to me (at the bottom of the triangle).  The other two sides are the same length (for you math types, that is an isosceles triangle!).  The reason this method of triangle folding makes a perfect square is because the material is folded in half along the diagonal twice.  This way, the triangle is only one-fourth the size of the square and only one edge of the triangle needs to be trimmed in order to trim all edges of the square.


Finally, the finished pile of napkins!  I am so excited to have these!  Now all I need is to make some more napkins with some of the other material I have laying around.  First, though, I need to make more grocery bags....

Enjoy and Blessings!!

22 July 2011

How To Make An Afghan...? Tunisian Crochet!! - July 2011

Okay, so I was introduced to a new (to me) and different type of crochet the other day: Tunisian Crochet (also known as Afghan Crochet).  It is super simple, just different.  I took a few pictures to show the basics differences between Tunisian Crochet and traditional crochet (what I'm used to).


First, we have the Tunisian Crochet hook.  A little bit different from the standard crochet hook, this type of hook (shown above) is long enough to make a shawl straight across.  There are different types of Tunisian Crochet hooks in all the difference sizes as according to what we're used to seeing (or at least I am used to seeing).  The type of Tunisian Crochet hook I thought was most interesting is  one that has a detachable extension so the project can be made as wide as desired on a single row.


One of the notable things about Tunisian Crochet is the fact that the last part of each stitch stays on the crochet hook.  That's why the needles need to be so long!  Shown (directly above) is the basic Tunisian Crochet stitch on a size "g" hook.  It is the equivalent of a single crochet stitch.  Start with one loop on the crochet hook, insert hook into vertical bar of a stitch from the previous row (or stitch from chain row), yarn over, pull through (like normal), yarn over, pull through one loop (one stitch), then repeat for desired number of stitches (loops).  Then at the end of the row yarn over, pull through one, yarn over, pull through two, yarn over pull through two (repeating until only one loop remains on the crochet hook).


Here (above) you can see part of the project I am working on (that will be another post).  This particular project uses squares of Tunisian Crochet tiered across instead of rows across (see below).


So!  That's the basic differences between traditional crochet as I know it and Tunisian Crochet.  Look forward to the next posting!

Blessings!!

18 July 2011

Sewing... Finally!! - July 2011


And this is my first sewing project in a while!  I have made 2 skirts (both wrap around) and sewn my husband's patches onto his uniforms... but beyond that I don't have much experience.  SO!  I believe you will believe me when I say that I am particularly proud of how this one turned out!  I only wish I had taken pictures during the process so I could show a little more of what I did!!

Step 1: I took a long piece of fabric (the boots) and cut another long piece of fabric (the denim) to a length I thought would work for a bag.  The bottom is not sewn, it's the "folded" part of the materials.
Step 2: I sewed the boots fabric onto the denim fabric.  (The boots fabric is really thin and I didn't want a good size bag to tear on me because of a poor choice in fabrics so I doubled it up!)
Step 3: I cut the handles and sewed them.  First in half lengthwise, then folded the other side in and made two "seams" along each side of the handle.
Step 4: I sewed the tops (both ends of the fabrics) over while having the handles tucked under the folds.  This created a seam for the top of the bag.
Step 5: I sewed up the sides of the bag.  Now I have a flat bag with handles that looks kinda funny!
Step 6: I sewed the "bottom" of the bag.  Taking the fold of the bag while it's flat and *in-side-out*, I lined that up with the seam I sewed up the side of the bag and created a triangle which I sewed across (on each side) to make the bottom square.
Step 7: I hand-sewed any loose parts together (my machine doesn't handle extreme thickness well so I havd to do some by hand).
Step 8: I hand tacked the handles to the inside of the bag so they wouldn't fall back into the bag or cause the top to be droopy.  Also, the hand-tacking allowed me to sew the handles without letting the thread being shown on the front or outside.

Enjoy and Blessings!!

Japanese Flower - May 2011


A Japanese flower is fun!  I have Mrs. Stupfer to thank for the pattern!  I have a Japanese flower bag that I have yet to line... but as soon as that is done I'll post about it, too!!  I finished up the crochet part on the trip from SC to WA before I did any other projects on that trip!  This particular Japanese flower has no purpose other than a potential coaster at the moment... I haven't decided what to do with the few I made at random... they simply look pretty!

Pattern:
Row 1: chain 6 and slip stitch together.
Row 2: chain 4, double stitch and chain 1 until there are 12 "spokes" then slip stitch to the beginning.
Row 3: chain 5, double stitch and chain 2 until there are 12 "spokes."  (Double stitches should be in the "spaces" or where you chained in the previous row."  Slip stitch to the beginning.
Row 4: chain 3, double stitch 4 stitches per each "space" or chain 2 from previous row.
Row 5: chain 5, anchor, repeat.  Each "anchor" should line up with the "spaces" or chain 2 from two rows before.
Row 6: double stitch 8 stitches per chain 5 of previous row, then anchor in previous row's anchors.

Note: Each anchor can be either a slip stitch or a single crochet, whichever you prefer.  I used slip stitch.

Row 1

Row 2

(Row 3 is missing)

 Row 4

Row 5

Row 6

09 July 2011

Experiments in Hot Pads! May 2011


From the Penske truck, you can see the final product of another project made on the looooonnng road trip from South Carolina to Washington state!  I used up all of each of those colors!  It's great, too, because the hot pad works wonderfully!  Patter: single crochet it up and tie it together with a double crochet border.  That's it!  Be sure, though, to make each side the same number of rows and columns and  use similar yards all the way around so it all works together well!

Blessings!!  ~Tabi

Other Stuff - a tiny dish rag and another hot pad? May/June 2011


A tiny dish rag, the leftovers of not enough yarn, happens to be a GREAT idea... if you have enough yarn.  So, here's the idea.  Start out like a regular Grannie Square, but for each subsequent round crochet an extra 2 stitches on each side (extra 8 stitches per round).  Yup, that's it.  The two new stitches on each side happen at the beginning and end of each side.  The first one of the round is kind of tricky, but I also like to go "backwards" one stitch and then continue from there so I don't have an awkward seam up the middle of one side.  (Yet another one of those ideas best explained by pictures I didn't take... maybe next time!)


And another hot pad... yeah....  I haven't really used this one yet, but I have PLENTY of hot pads to choose from now! (YAY!)  But this could be used as either a hot pad or a dish rag.  It's a single layer and crocheted with only one ball of yarn.  Very simple, about 30 stitches across for the base for about 38 rows (back and forth), then topped off with a border going around the edges twice.  I like the way this one looks.

If you are interested in any of these projects, please leave a comment and I'll get back with you!

An Experiment in Oven Mitts - May 2011


Here is my oven mitt!  I'm super excited about this project because I have always wanted an oven mitt and now I have one!  Yay!!  I actually made this one after we arrived at our new place in Washington state, so it may have been June before I actually managed to make this one.  Also, this one would be best explained in pictures, but I don't have the middle pictures to help explain so here it goes:

Pattern:

Row 1: chain 30 (or 35, depending on how big you want the base), slip stitch the ends together.
Row 2-8: chain 2, single crochet, slip stitch to the beginning of each row.
Row 9: single crochet 28 (or 32), slip stitch to the 7th (or 11th) stitch back, continue single crochet to the end of the row, slip stitch to the beginning.
~Main Part:
Row 10-14: single crochet the main part of the oven mitt ONLY, slip stitch to the beginning of each row.
Row 15-23: single crochet decreasing 2 stitches in the middle of each row, slip stitch to the beginning of each row.
Row 24: slip stitch the top closed so the main part of the oven mitt is flat.  Cut yarn.
~Thumb:
Row 11-14: single crochet decreasing 2 stitches in each row, slip stitch to the beginning of each row.
Row 15: slip stitch the top closed so the thumb of the oven mitt is flat.  Cut yarn.
~Wrist: (optional)
With the oven mitt up-side-down, crochet a "5-double stitch shell" as a border and finish as you would a blanket.  [Other options include a triple stitch and triple-stitch shell.  You can also add more rows to the wrist at the beginning or the end to make the oven mitt longer.]
~End: work yarn into the project.


Keep in mind, these patterns assume that you have some experience with crochet.  If you want to learn and have no experience, or you are having trouble with these "patterns," please feel free to leave a comment and I will get back with you!

What's A Trivet? Hot Pad Grannie Square Style - May 2011


Both of these are the same hot pad (or, as I learned today, trivet).  Now sitting in my hot pad drawer, this one was an experiment in the middle of a looooonnnng drive across the country (yes, our South Carolina to Washington state drive).  Basically, with about 5 balls of yarn left I decided to make some experimental small projects and this is one of them.  Both sides were made separately and then joined together with a double stitch border.  Each side is 6 rounds of Grannie Square, then I used a double stitch to tie the two together.  I like this because it is a cheap way to acquire hot pads.  If you try this one yourself, though, be sure you are using a yarn that won't melt at extreme heats!