So, I've been irritated because of no good solution for cold packs sliding around. It's a pain to use an ice pack when you need it! And for all the stuff that's happened in the las couple of months, we've needed ice packs a lot!
Here's the how-to:
Step one: cut out your material so you can put an ice pack on one quarter of it nicely, and cut out ties. Here I made four.

Step two: start with the tie. Iron it and get the folds out.

Step three: iron the tie in half to preserve a crisp crease (you'll need it later).

Step four: iron the (two) ends in so you can sew around them.

Step five: iron the sides in (depending on how wide you cut the ties they can be from 3/4" to 2").

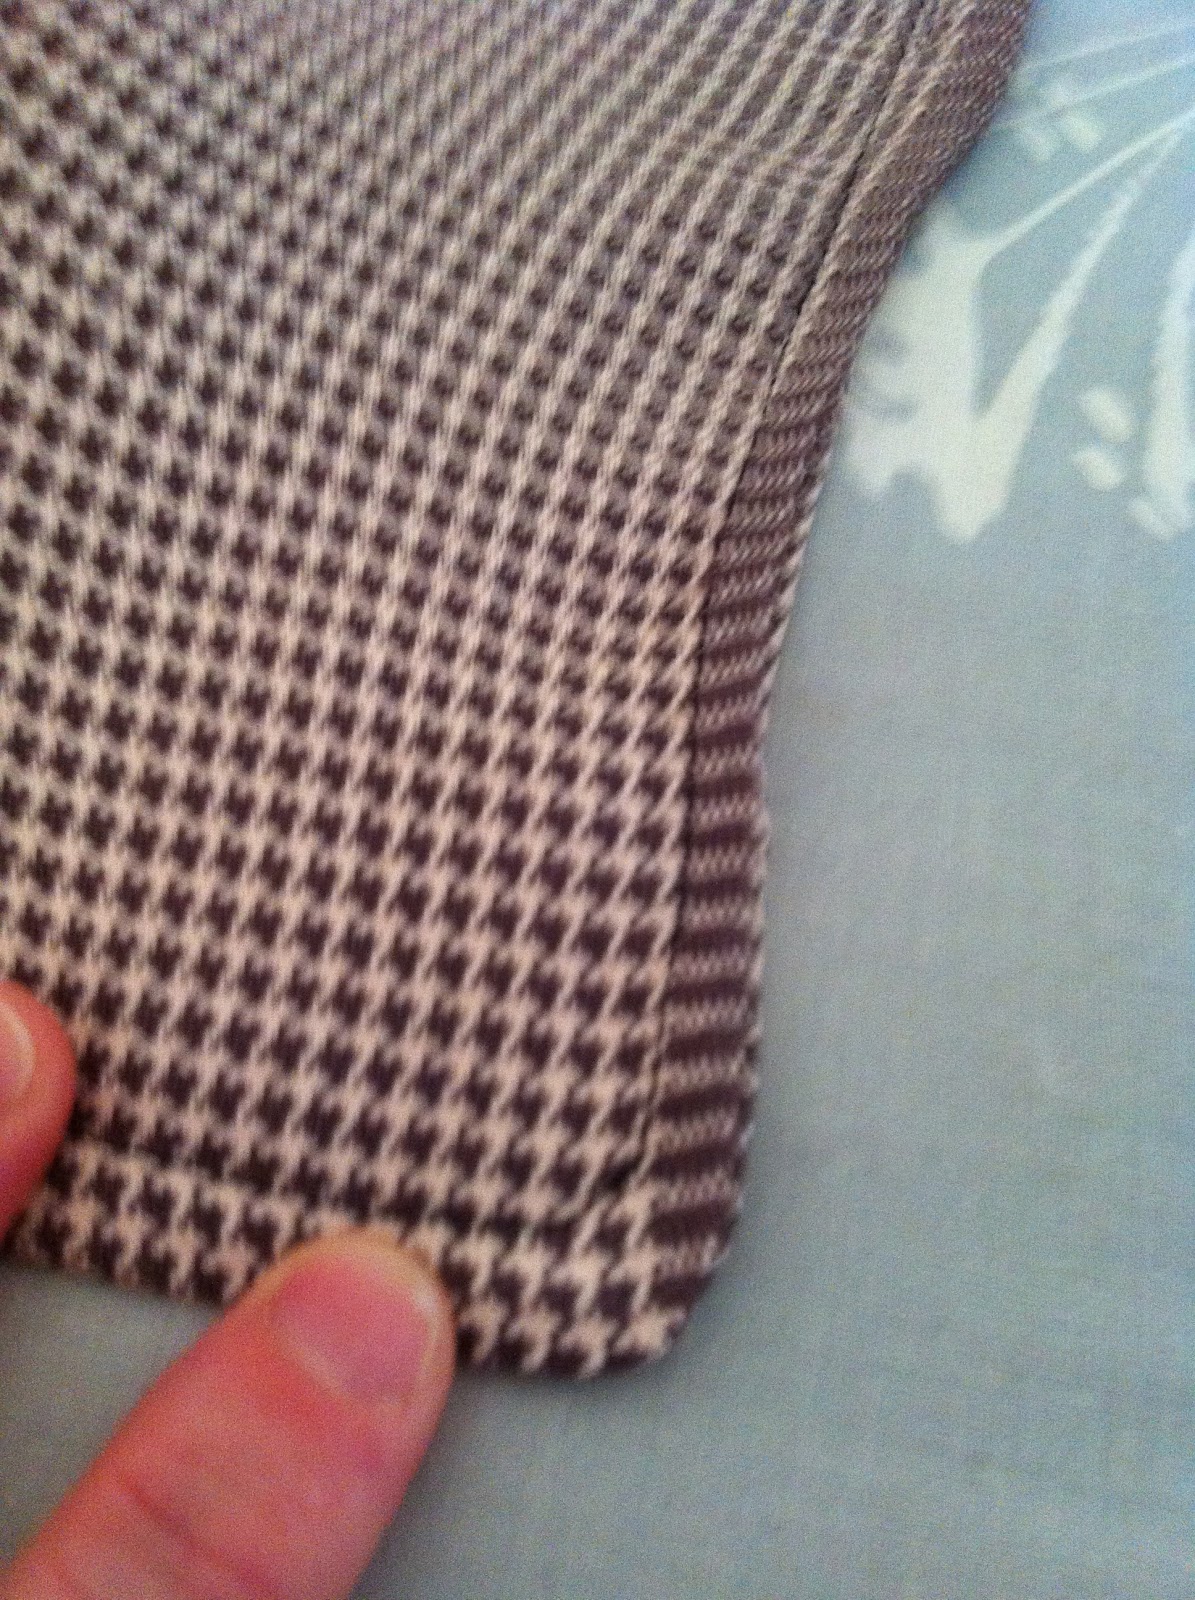
Step six: make sure the ends will sew together well.

Step seven: sew the tie together (end, side, end) to make it look like a small tie-belt. (I used straight pins to keep my work even. The material I worked with was terrible about going through the machine.)


Step eight: get the bag material out and iron it smooth.

Step nine: iron a crisp crease in the vertical center of the bag.

Step ten: pin and sew the tie to the bag. (It should be centered where the ice pack will settle.)


Step eleven: pin the tie out of the way. This will help keep from sewing it somewhere it doesn't belong!

Step twelve: iron the top down to sew a seam.


Step thirteen: sew around the outside (with it right-side-out, this is the first part of a French seam). This should only be the bottom and one side. We don't want to sew it shut!

Step fourteen: turn the bag inside-out, iron and sew the second sewing for a French seam.


Voila! You have made a cold pack bag!


Now all you need to do us insert a cold pack...

... and put it to use!!

I hope this proved helpful to someone! I know this would have been a handy thing to have after the car accident!
Blessings and Peace!
No comments:
Post a Comment