I found a crochet hook organizer at the yarn shop in town and I LOVED IT! So... I took the idea and expanded... quite literally... for knitting needles. Here's MY pattern for making a DIY hook/needle organizer.
First, cut out the material. You'll need enough lengthwise to set your needle or hook in the middle with the bottom folded up and the top folded down and still have some overlap (about 3 inches) and enough widthwise for each of your needle pairs or hooks to have about 1/2" to 1 1/2" of space side to side. Also, you'll need two strips for ties, about 14 inches in length and 3 to 4 inches wide.

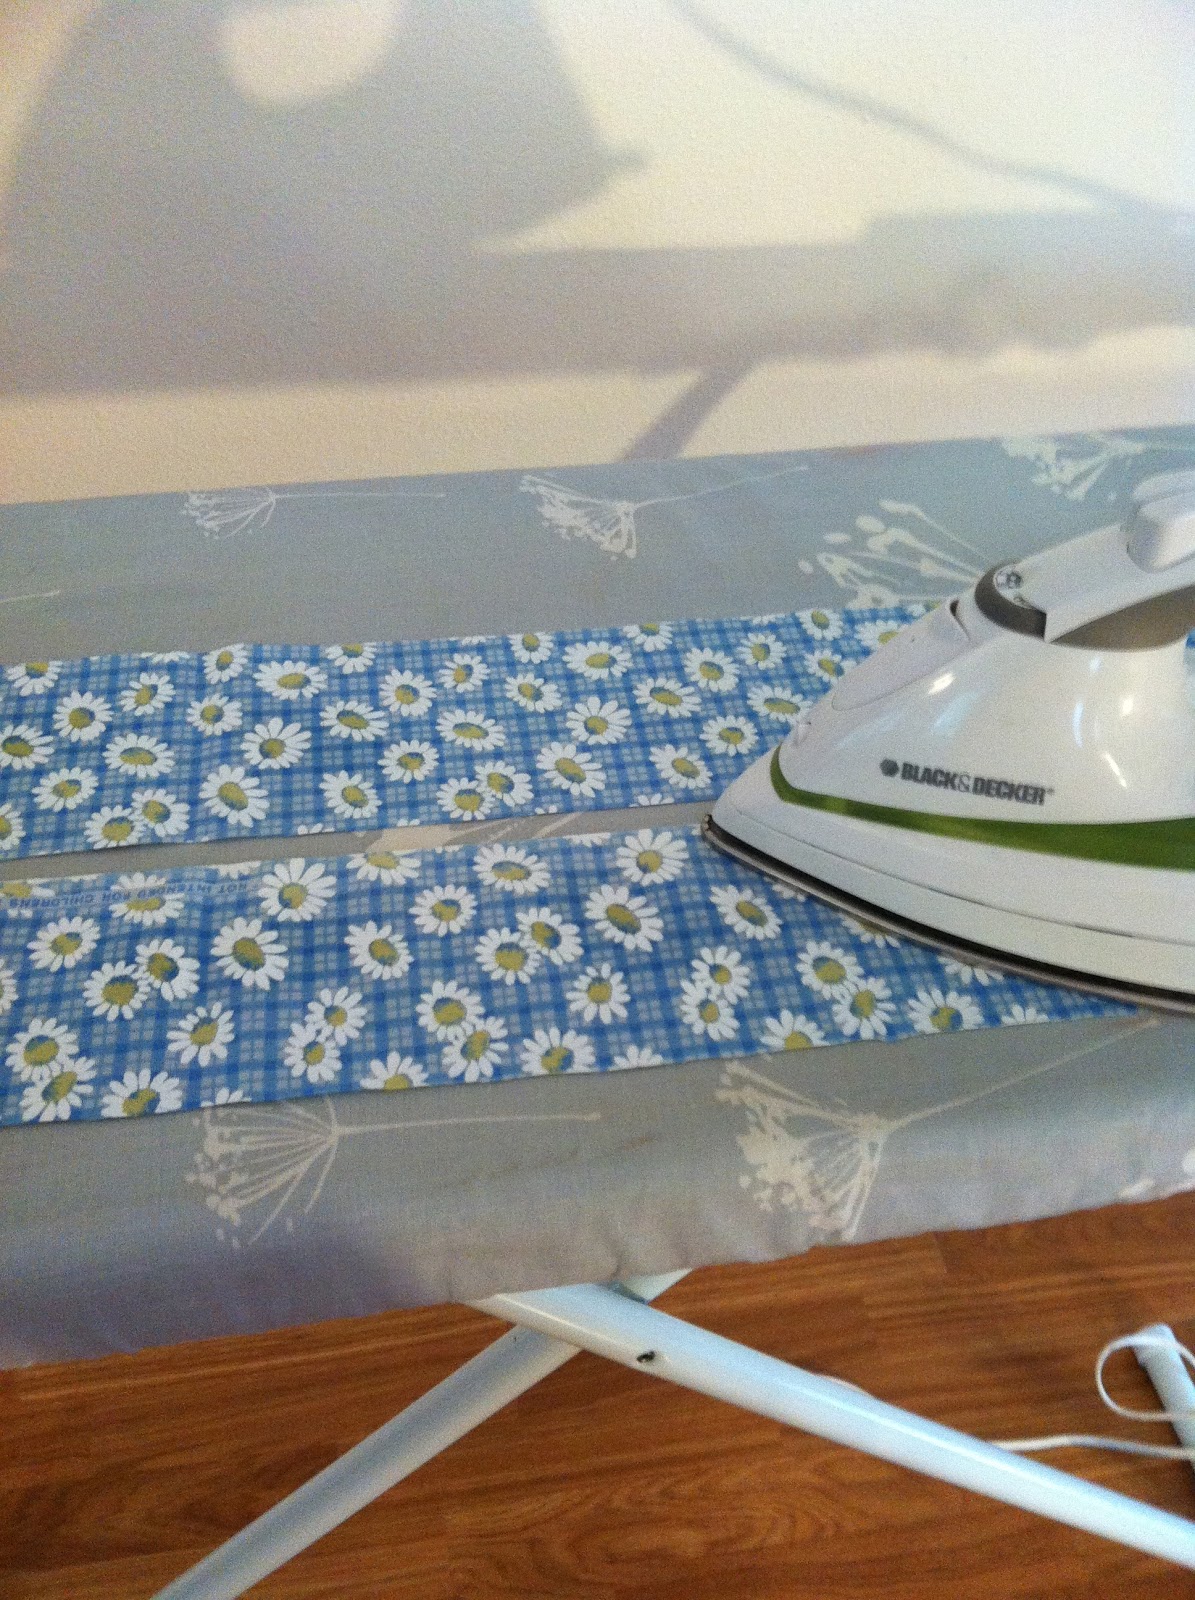
First, iron out the two tie strips. (Tip: use water to make and keep crisp creases.) This will be like the bag handles I have made before, the only difference is one end will be left unsewn and the other end will be sewn because it will be the "free" end.
Iron each tie strip in half (for a midpoint to measure the width of the tie).

Fold out the tie strips and measure the width of the ties from the center (mine were 1" wide ties from 3" wide strips).

The "free" end: trim the edge at an angle then cut a slit along the ironed seam at the middle. Iron a fold into the end similar to the sides so there are no fringes when it's sewn together.

Extra tip: iron the ties before you sew.

Sew the ties together along the edges (as close to the edge as you reasonably can).


Now for the body. Fold the top and crease it twice.

Sew a seam across the top.

Measure the two folds at the top and bottom as folded around the needles/hooks. Iron the two folds.

Sew the top and bottom creases to give stability. The sewing should be as close to the edge as possible.

Fold and crease (with iron) the sides twice. Sew the sides.

Pin the two ties together to one side and sew them on.

Below is a picture of the pre-pocket version. The sides have not been sewn together, only creased in preparation for the last step.

Measure 1/2" to 1 1/2" (depending on the size of the needle or hook) and mark. Safety pins will work for this, or fabric markers (or a pencil). Sew from the bottom to the middle starting on one side, working across the bag to the other side for the pockets.
Once the organizer is sewn together, insert needles or hooks and...

... roll it up!! Tie the ends to to keep it from unrolling.

Hope you enjoyed this idea!
Blessings!!
No comments:
Post a Comment